Necklace and Faux Geode Earrings

This necklace and earrings are so simple to make, yet fun and stylish to wear. This little project takes less than 30 minutes to DIY so let’s jump right in!
For the Necklace:
Tube beads (available at any craft/hobby store)
1 18-inch necklace chain
Acrylic craft paint (choose whatever colors you like)
Paintbrush
Painter’s tape
Mod Podge or clear nail polish
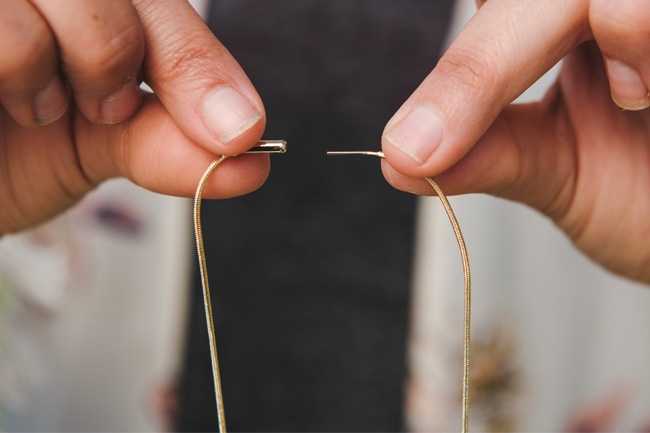
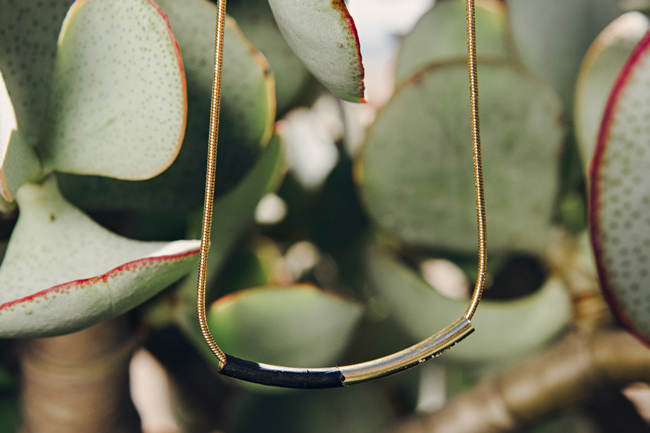
1. Mask off half of the tube bead with painter’s tape. Use as many beads as you like. I made several beads in different colors so I could switch them out.
2. Paint the exposed part of each bead a different color. Allow it to dry and then repeat. Three coats will do the job.
3. After it has completely dried, apply your topcoat of Mod Podge or clear nail polish. Let it dry completely.
4. Simply thread your newly painted bead onto your necklace and you’re done!
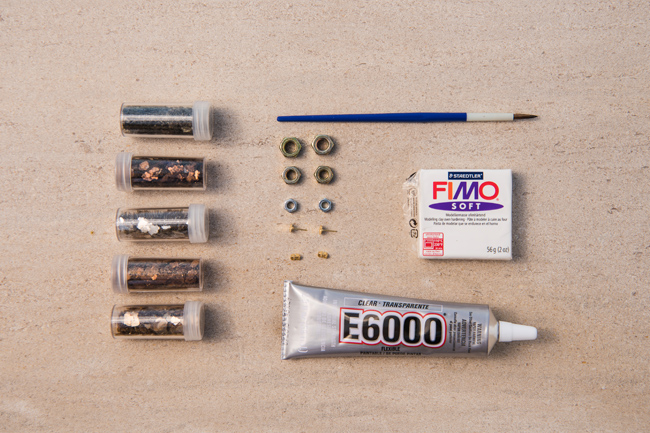
For the Earrings:
FIMO clay
Glass glitter
Flare caps (available at Home Depot)
E-6000 glue
Earring posts and back (available at any craft/hobby store)
Clear nail polish
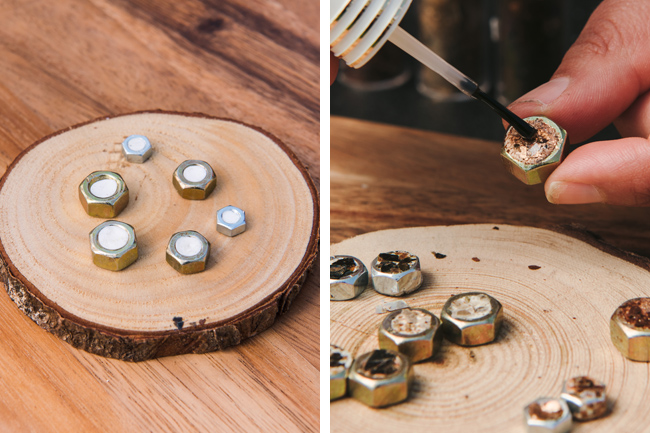
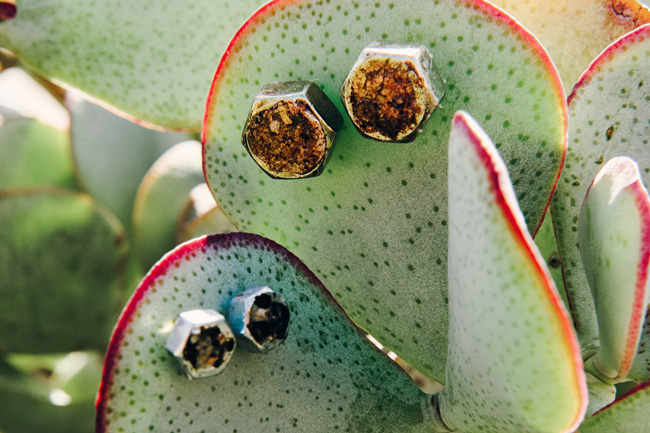
1. Knead the FIMO clay slightly to soften it up. I just rolled a pea-sized piece between my palms for about 30 seconds. Once it’s pliable, put a small bit of clay into each flare cap, making sure to fill it completely.
2. Pour a small amount of glass glitter out on a flat surface (a cutting board is perfect for this). Take your “earring” and press it onto the glitter. Press hard enough to make sure the glitter gets into every nook and cranny and the clay is completely covered.
3. Apply a few coats of clear nail polish to hold the glitter in place. Let it dry between coats of course!
4. Glue the earring post to the back, let it dry, and . . . voila! Your earrings are ready to wear!


1 comments
DONNA | August 19, 2016
Brilliant!! I love DYI projects!
Leave a comment
Leave a comment