
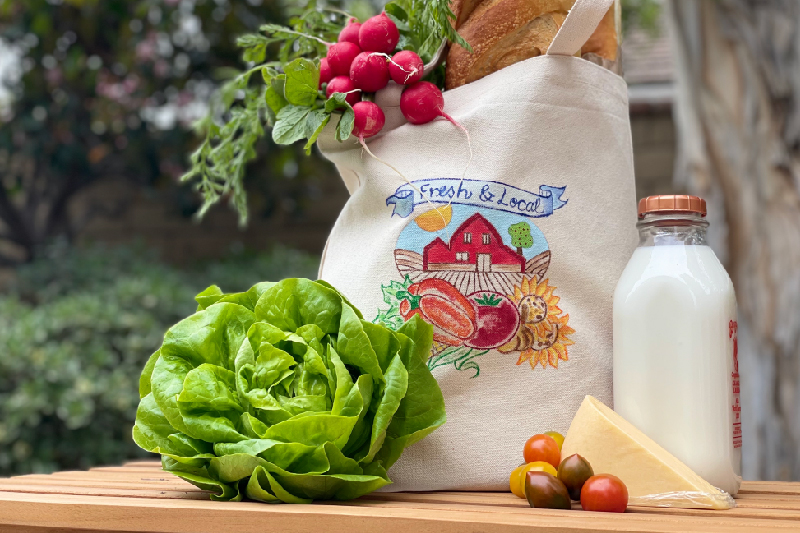
canvas market bag
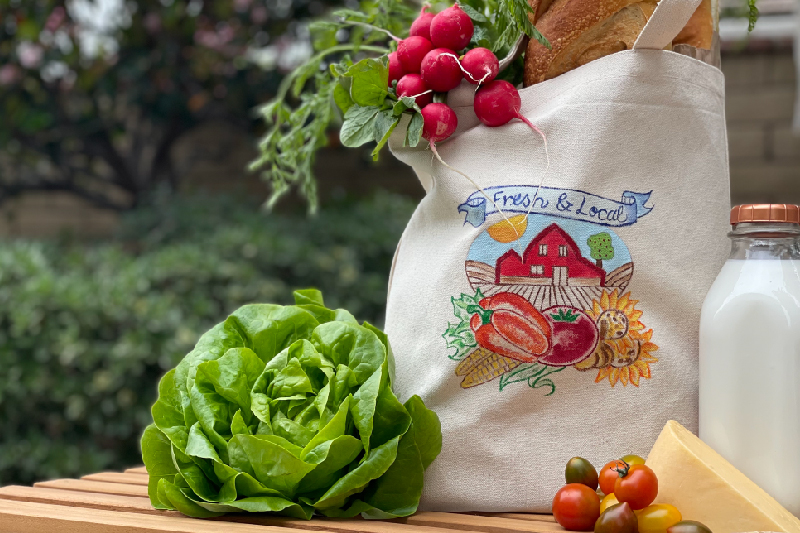
Last month we showed you how to create an artistic tapestry, but don’t put those acrylic paints away yet! Since market bags are durable and easy to paint, this would be a fun project to do with your older kids or grandkids. Iron-on transfer patterns make the process easy, and the theme options are unlimited. Personalize yours for carrying everything from groceries or garden tools, to books, baby items, or beach totes.
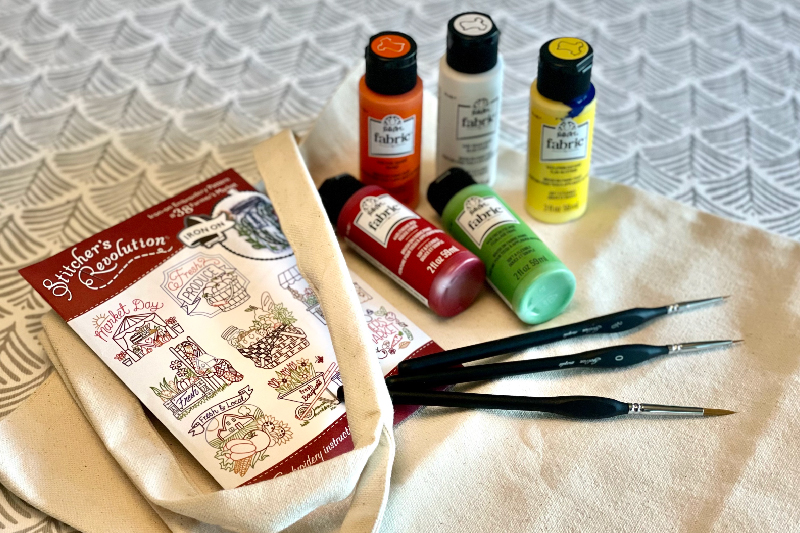
Materials + Tools
Canvas Bag (craft stores or online)
Iron on Transfer Patterns for painting/embroidery (lots of options HERE)
Acrylic craft paint for fabric *
Fabric medium (optional)
Paint Brushes
*If you want a color that doesn’t come in fabric paint, you can purchase fabric medium that makes any acrylic paint usable on fabric. Just follow directions on the bottle for mixing.
Instructions
- Choose and cut out your transfer pattern. Lay the canvas bag on a solid, flat surface (not a padded ironing board) so the pattern will be sharp and easy to see when you iron it onto your bag. I just put a cotton pillowcase (folded in half) on my kitchen counter and laid the canvas bag on it. Then I placed my pattern (face down) on the bag. Press down firmly with a hot iron (no steam) being careful not to move the iron around too much.
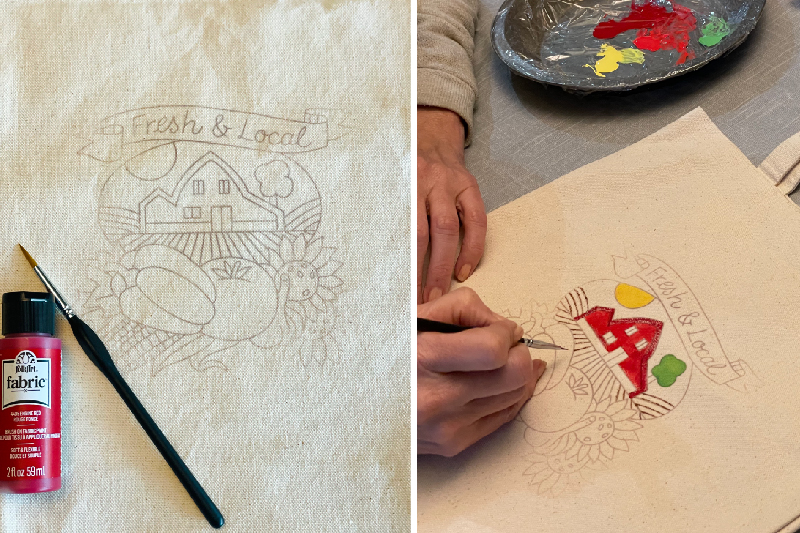
- Using a fine-tip brush, outline your pattern in colors of your choice. Use a variety of brushes (size and width) to fill in the pattern and achieve the look you prefer. You may want to add several coats of paint, depending how bold you want it to be. Allow the paint to dry 24 hours.
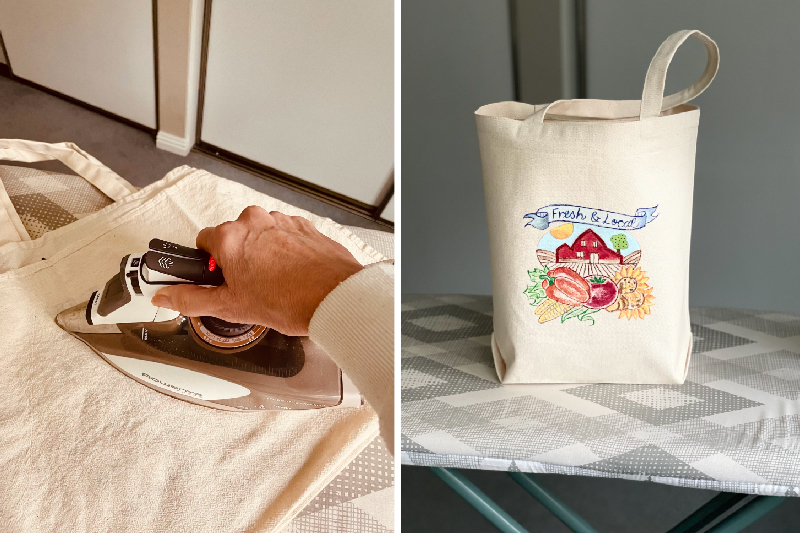
- Heat-setting your design will finish the look and make your market bag resistant to fading and easy to clean with a damp cloth whenever needed. Is that cotton pillowcase still handy? Lay it over your finished design and press with a warm iron. Simple as that—you’re done!


0 comments
Leave a comment