pegboard organizer

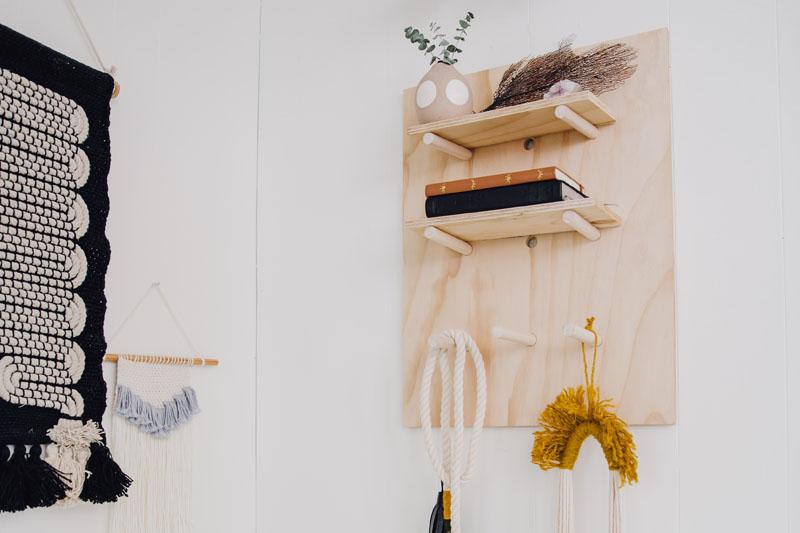
I love the simplicity and versatility of pegboards. You can hang items, make shelves and rearrange it all when you need a change. It’s so easy! This is how I did it, but feel free to customize the size to your needs.

Materials
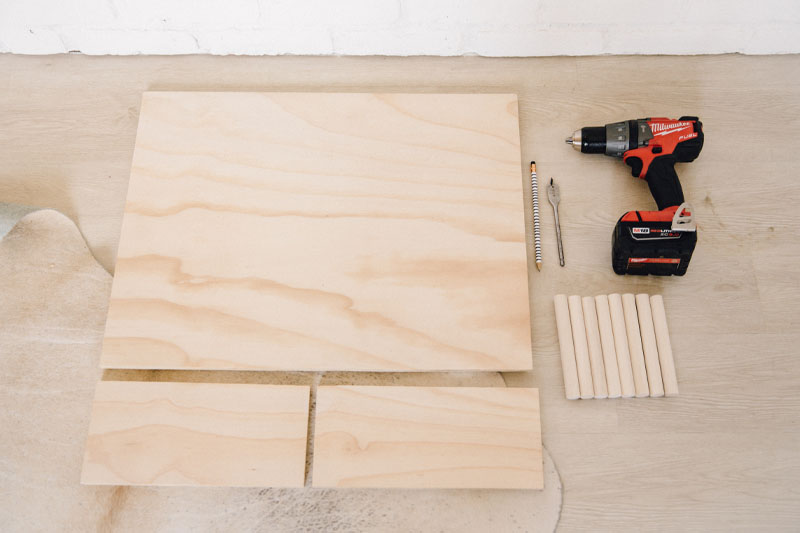
½ inch thick wood board (I used birch and made mine 24”x11 ¼”)
5½ inch wide pieces of wood board to use as shelves (length is up to you)
¾ inch wooden dowels
Optional: Standard white peg board (with lots of tiny holes) to use as a pattern
Tools
¾ inch Forstner (“spade”) drill bit
Drill
Pencil

Instructions
- Sand your wood board until smooth.
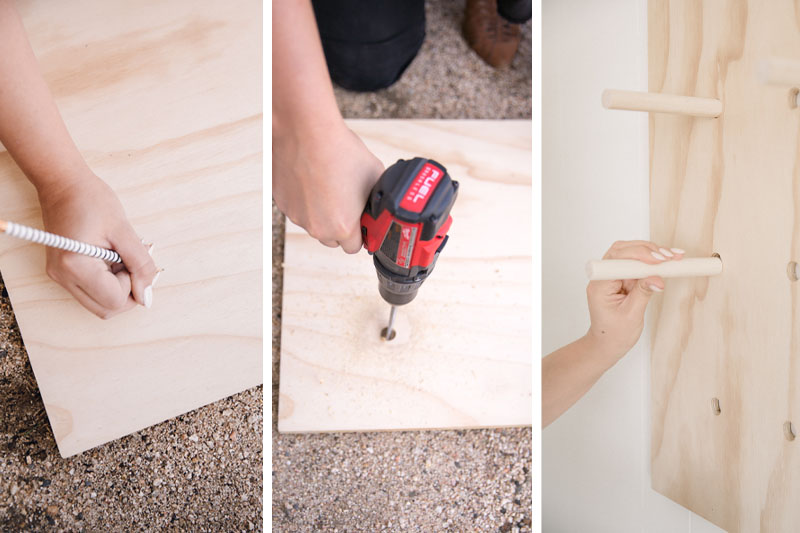
- Use a ruler to carefully mark drill holes every six inches across and down. Or lay the white pegboard on your sanded wood board and mark through every sixth hole.
- Using the Forstner drill bit, drill a hole through each mark. Be sure to drill straight down (lay your wood on something to prevent drilling into the ground). If the back of your panel splinters, just sand it when you’re done.
- Make sure the dowels fit snugly in the holes before trimming them to 6¼-inches long.
- Arrange the dowels where you like and lay the shelves on top.


0 comments
Leave a comment