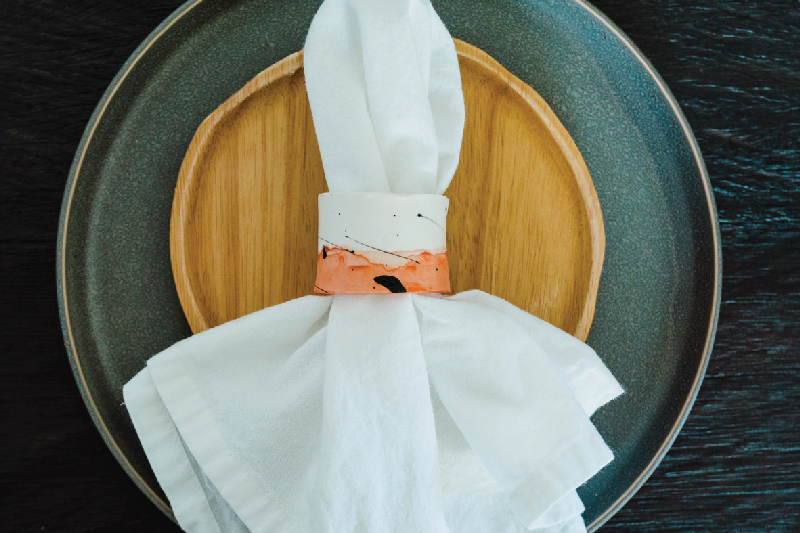
faux clay napkin rings

Are you looking for a simple way to dress up your table setting? Napkin rings add the perfect pop of color or texture to any place setting. These budget-friendly napkin rings can be customized to fit your style and color scheme. Plus, this is a fun and easy project you can do with your kids! Here is what you’ll need.

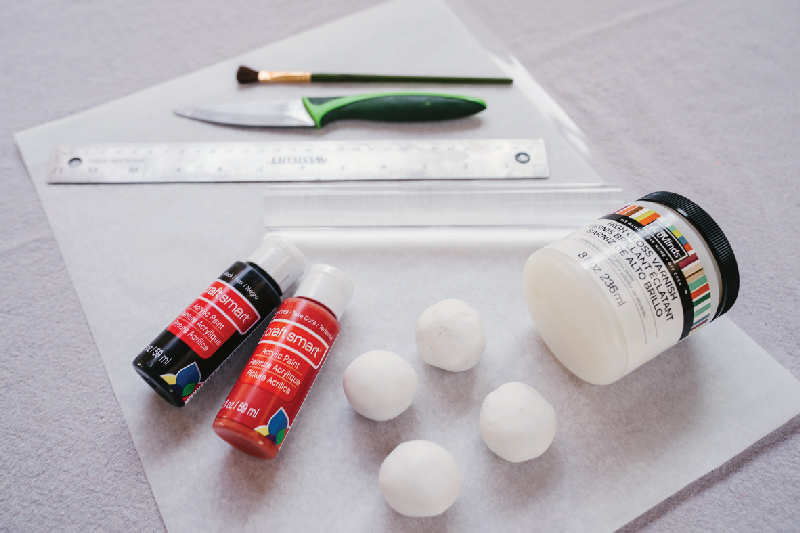
Materials and Tools
White Polymer clay (Baking Clay)
Clay roller (or you can use a glass bottle)
Parchment Paper
Toilet tissue or Paper towel roll
Acrylic Paint
Gloss glaze (from Michael’s or any hobby supply)
Knife
Ruler
Paint brushes (we suggest a disposable brush for the glaze, which dries quickly and is hard to clean)


Instructions
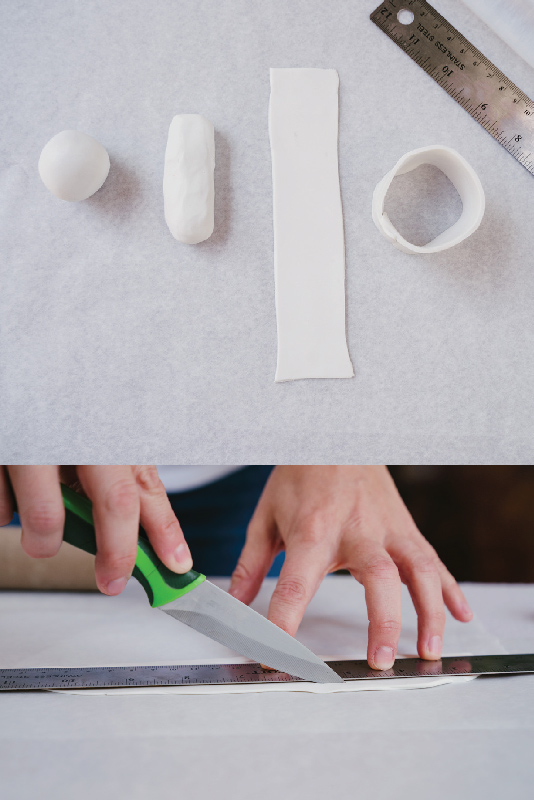
- Make large clay balls, one for each napkin ring. Do this over parchment paper to keep the clay clean.
- Roll and flatten each ball into 1 ½ inch strips, or your preferred width.
- Flat wrap it around the paper roll to make sure it’s large enough to hold a napkin. It should be long enough to overlap the ends slightly; trim if it is too long.
- Seal the ends by gently pressing the overlapping edge onto the underlapped end. Carefully slide it off of the paper roll. If needed, re-shape and smooth any “uh-oh’s” after you take it off the paper roll.
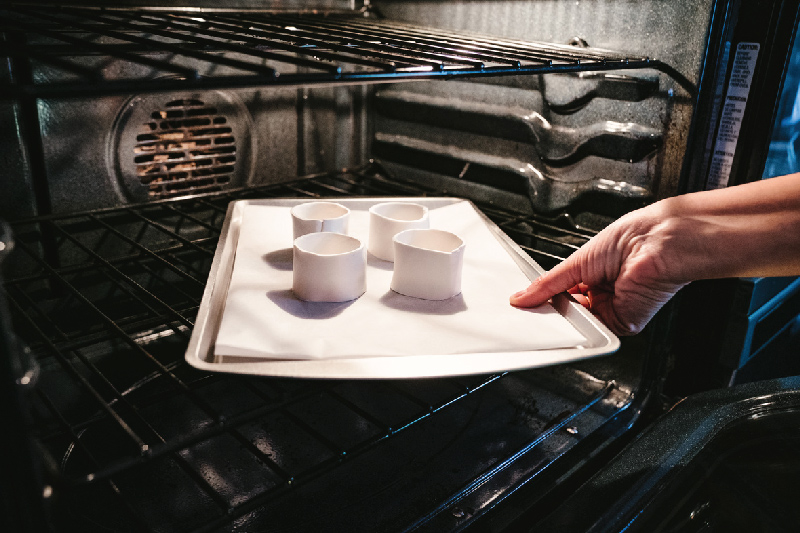
- Bake according to package directions. Let cool completely.
- Mix acrylic paint with a little water (not too much or the paint won’t stick) and paint a simple band around the ring.
- Once paint is dried, use black paint (or a darker color) to add the speckle pattern or any design you wish. Let dry completely.
- Apply the gloss glaze. Place napkin rings on parchment paper to dry several hours or overnight.


0 comments
Leave a comment