diy spring napkins
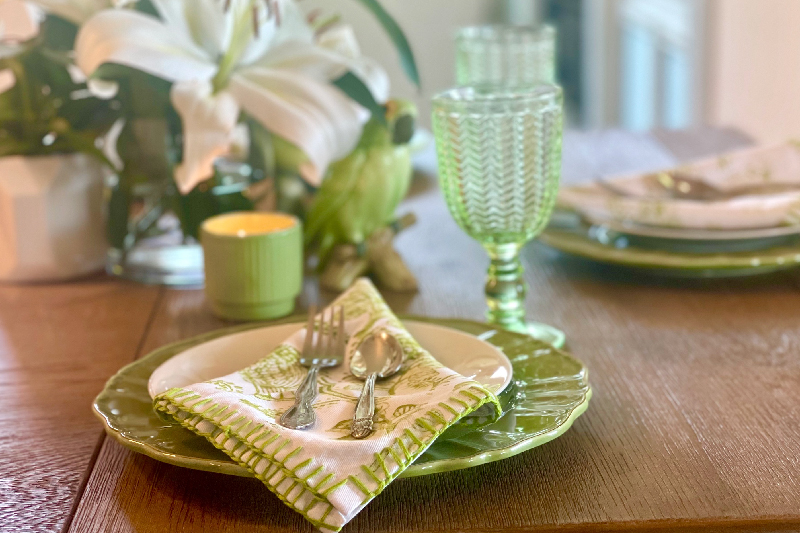
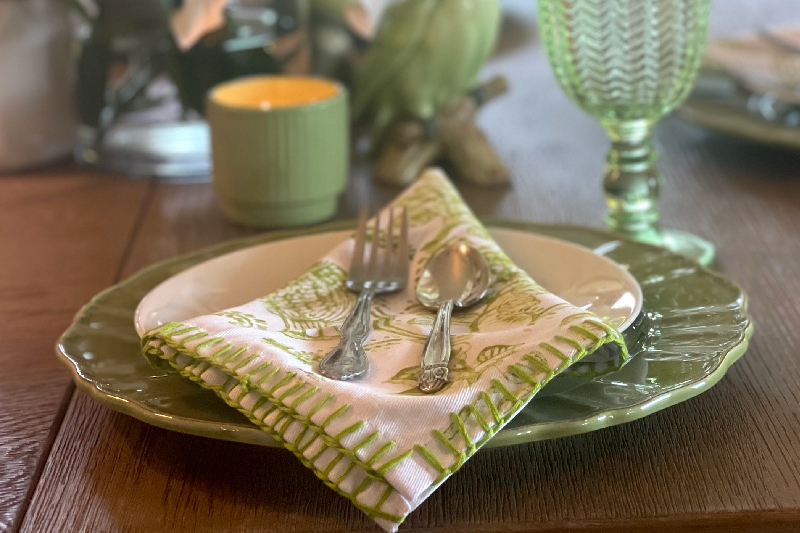
Spring and summer sends us outdoors to enjoy our family and friends. For backyard BBQ’s, picnics, or special occasions we love to gather around the table for food and company. One way to give a fresh look to your dining table may already be in your closet. This kid-friendly project is a simple way to transform inexpensive cotton napkins into vintage looking pieces without breaking the budget.
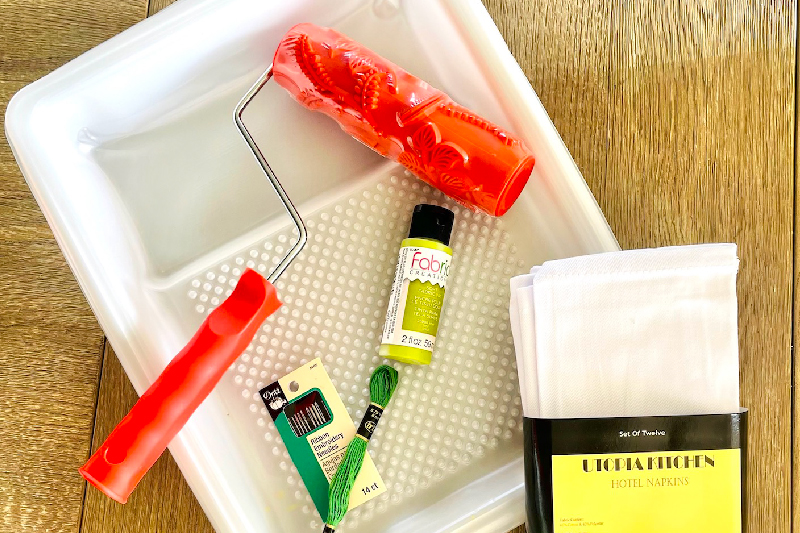
Materials and Tools
Cotton Napkins, white or color of choice
Fabric Paint, available online or any craft store (1 small bottle does two large napkins)
Embroidery thread, matching or contrasting colors
Embroidery needle (I use a heavy gauge as they are easier to thread)
Small push pins or tacks
Paint tray liner
Embossed Paint Roller (I got mine HERE)
Large pieces of cardboard (for pinning your items flat while painting)
How To
Preparation is key here. Have all your materials laid out and ready to use.
- Wash and iron your napkins. Pin one napkin, flat and taut, on the cardboard. Secure the corners and sides.
- Pour paint into the paint tray. Load your paint roller, making sure the paint covers all the embossed pattern on your roller.
- To apply the paint, begin at one end of the napkin. Roll FIRMLY from top to bottom. Don’t roll back and forth, as it will blur your image. Remember: This will not be perfect—and it’s not supposed to be. There will be faded areas and bright lines as if it’s been washed and loved for many years.
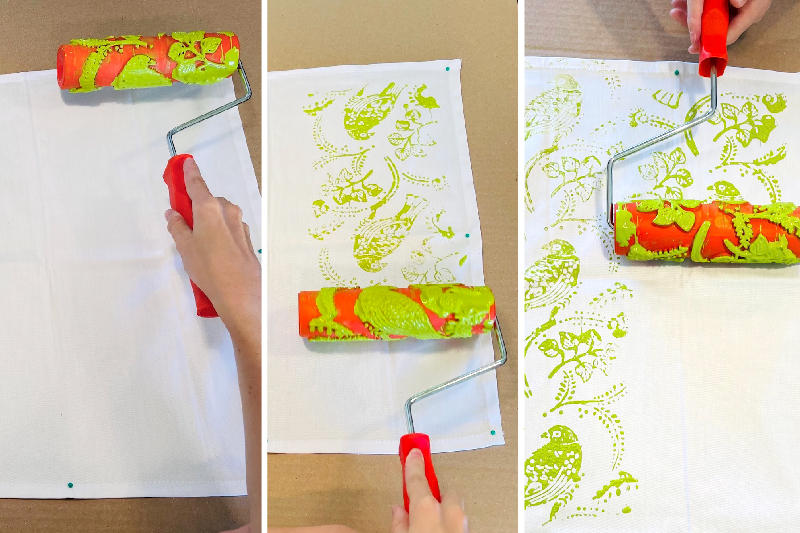
- With the napkin still pinned in place, set the cardboard in a warm area and let it dry completely. If you see any shiny paint, it’s not dry yet.
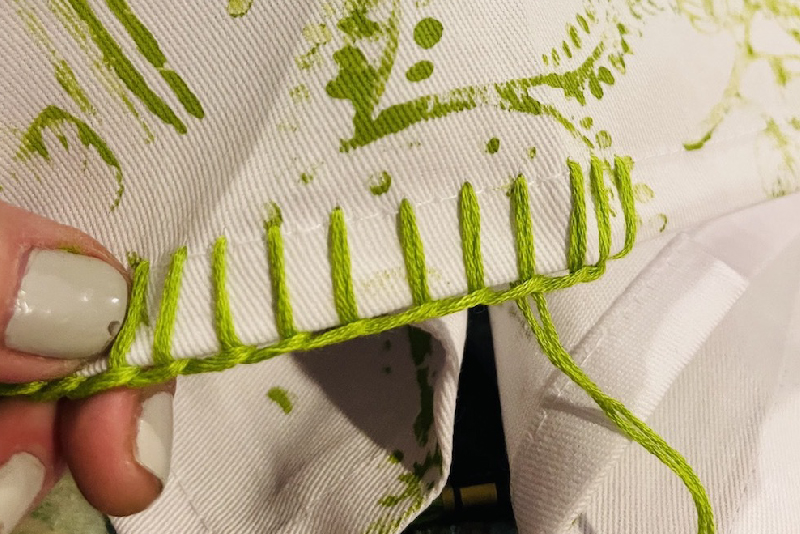
- Remove the completely dry napkin from cardboard. Use a blanket stitch (see how HERE) to finish the borders of the napkin.
Bonus: What else can you create? We used this exact same process to design my children’s white t-shirts!


1 comments
Christi Robillard | May 15, 2022
So pretty!!
Leave a comment
Leave a comment