Wood Weaving
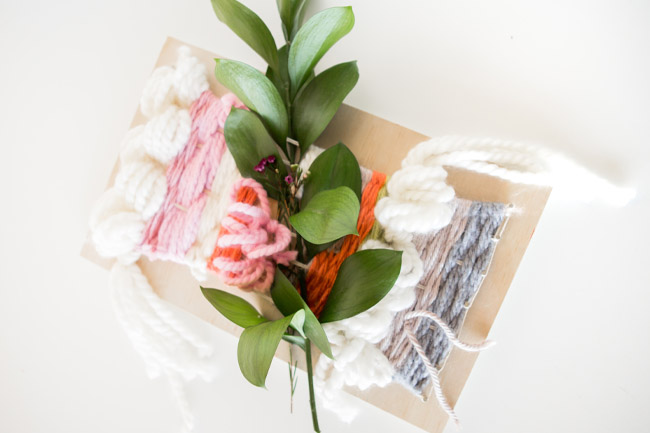
Greenery, wood, and yarn! These are a few of my favorite things. I love incorporating different fibers and texture into a project, so that’s what I did to create this mini wood weaving. I have never created a weaving before, but I thought this would be fun for us to try together! This adds a simple touch of home-spun charm to your party decorations or just to enjoy around the house.
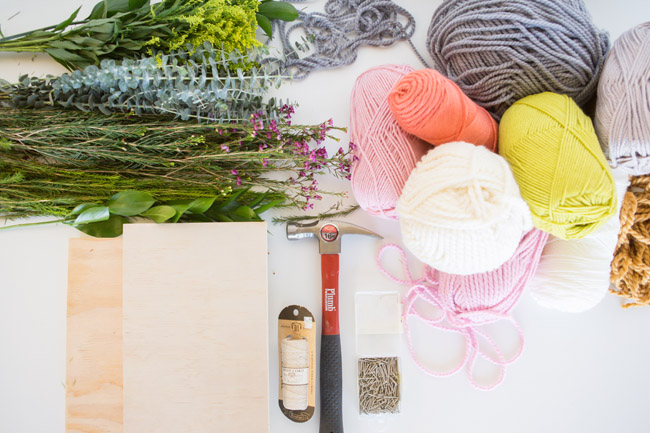
Materials:
Yarn – any color and thickness you prefer (this is a great way to use leftover yarn)
An assortment of greenery (optional)
Wood – 8 x 12 inches or your preferred size
Hemp Cord
Small Nails
Hammer

How To:
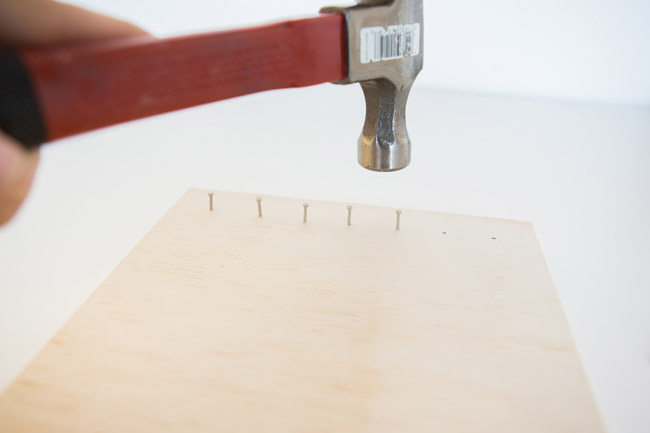
- First you will create your grid. On the wood, measure and mark a small dot an inch apart and in from the edge of the wood (top and bottom). Hammer a nail into each mark you made.
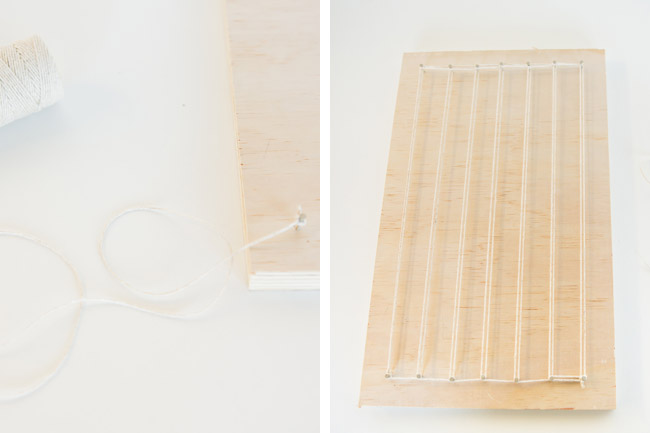
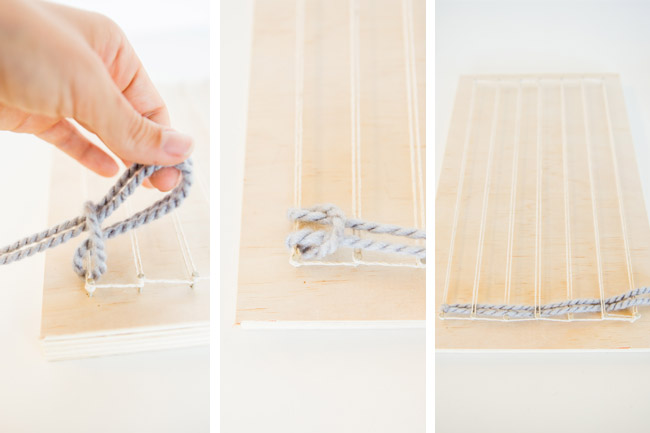
- Take your cording and tie a double knot on the bottom left nail. String the cord up around the top nail (pull tight) and loop it around the second nail on the bottom. Repeat (continue pulling tight) until you complete looping around each nail. Tie a double knot on the last nail.
- Choose your first color of yarn; cut a long piece and fold it in half. Take the folded end of the yarn and slide it under the cording just above the bottom left nail (see photo). Loop through to create a lark’s head knot.
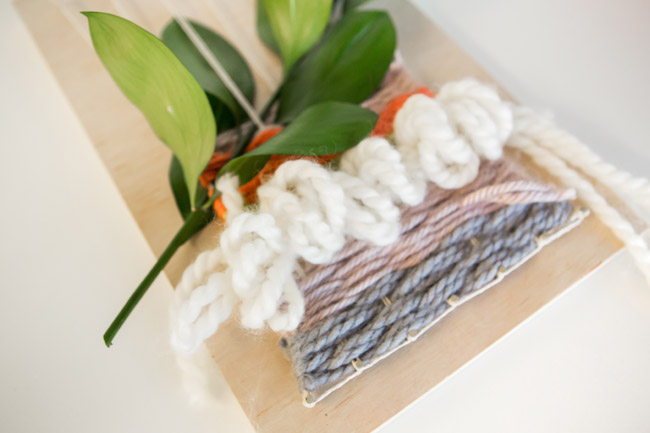
- Weave the yarn over, then under, each column of cording. When you reach the end, loop it around and continue weaving back the other direction. Repeat this over/under process until your yarn runs out or you have the number of rows you want for that color. Tie a double knot and cut excess if needed.
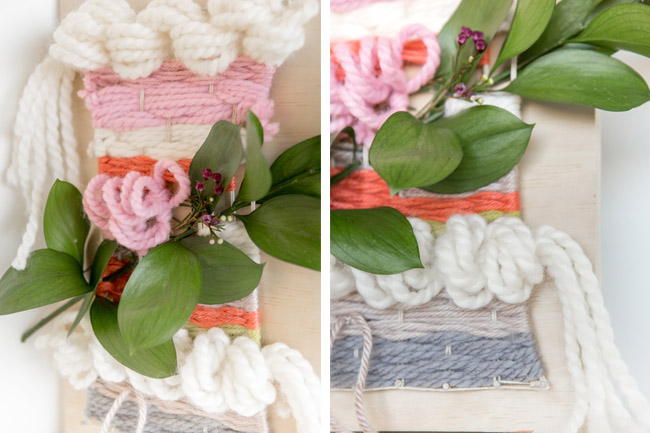
- Choose your next color and repeat the process, working your way up the wood slab. Weave in greenery and/or flowers as you go.
- Feel free to get creative and try things with the yarn—it’s very forgiving and you can twist and tie it any way that looks pleasing to you. Enjoy!


1 comments
rita gee | January 21, 2019
so creative! can't wait to try it. thanks for the inspo!
Leave a comment
Leave a comment