Natural Look Wood Transfers
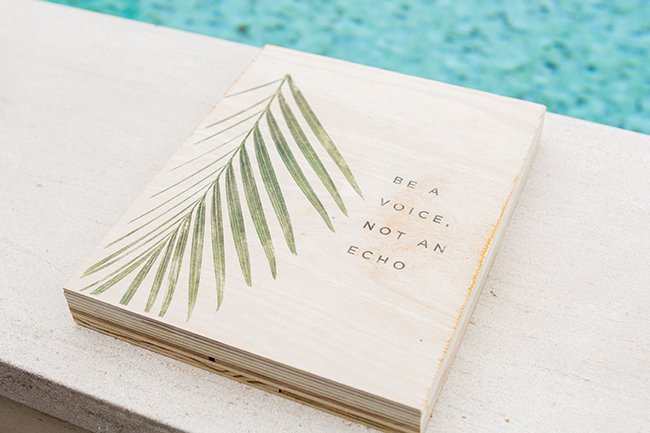
 As a team-building exercise, Josh (our boss in the Harvest Design department) showed us a fun technique for transferring images. It’s easier than most methods and can be used on a variety of surfaces, including wood. You don’t need a lot of supplies and there’s no waiting time to dry.

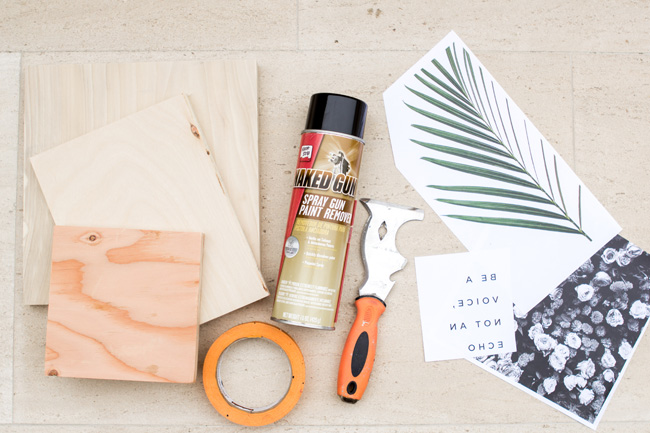
Supplies
Klean-Strip Naked Gun Spray Paint Remover*
Painter’s tape
Laserjet printer
Wood, paper, or cardboard (whatever you want your finished project to be)
Painter’s scraper (metal works best)
Face mask (optional; the spray is a little strong)
*This spray can be hard to find in a store, so I went to O’Reilly’s Auto Parts and they were more than happy to special order it for me. You can also purchase it through Amazon.

Instructions
This is an outside project! Make sure you are in a well-ventilated area.
- Print your design, using a laserjet It’s important to use a laserjet so the toner on your print will properly bond to your material (ink from an injet will not). If your design includes words, make sure it is mirrored to print backwards.
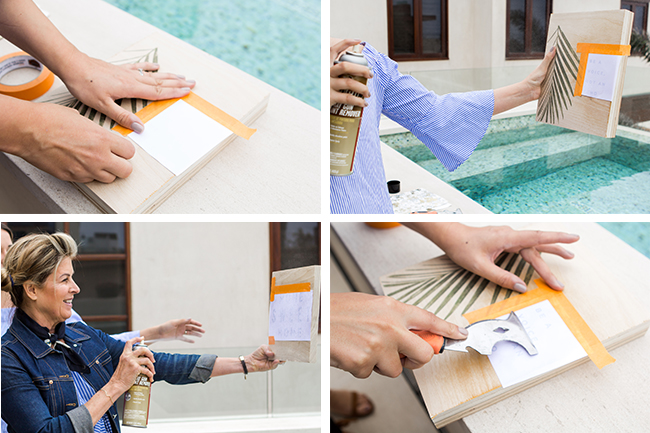
- Lay your paper, design side down, onto your surface and secure with painter’s tape.
- This next step can be a bit tricky. You don’t want to spray too heavily or your design will start bleeding. Hold the can a few feet from the paper and spray using small, quick bursts. If your paper gets too wet, quickly dab the area with a cloth to absorb excess spray.
- Using a scraper, start rubbing the back of the paper to transfer the design onto your surface. Pressure is key here. I found a painter’s multi-tool that worked great. I could apply pressure and the small, flat end was perfect for rubbing individual letters.
- Rub the paper as hard as you can without tearing it. You can gently lift up part of the paper (without removing tape yet) to see how well the design has transferred. This will help you see which parts of your design need to be rubbed harder.
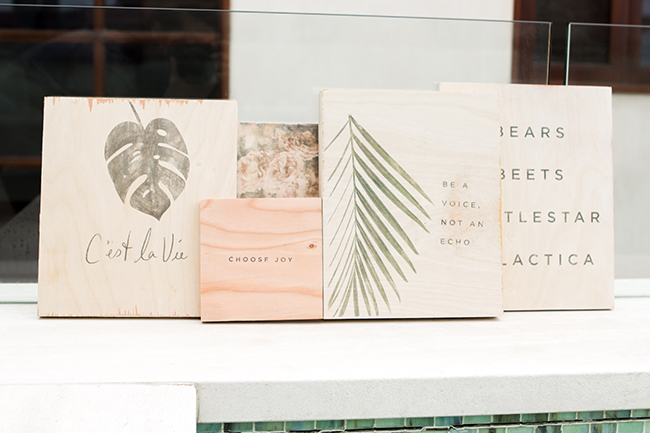
- When the design is transferred to your liking, remove the paper to reveal a distressed, natural looking design!


1 comments
Christie McNew | July 27, 2017
Thank you for sharing this! This looks so awesome. I can't wait to make these for family and friends!
Leave a comment
Leave a comment