
Holiday Paper Garland
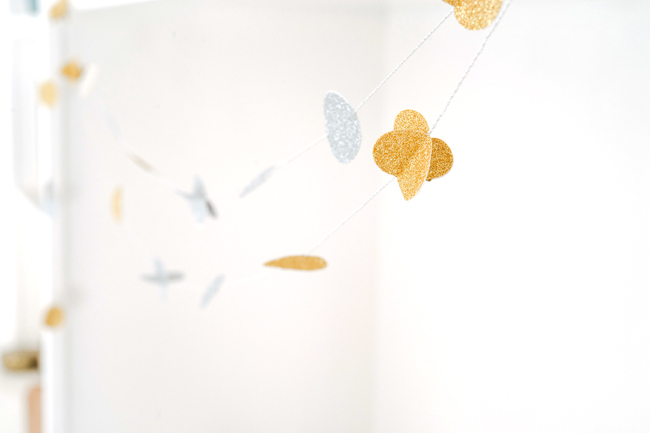
I had the privilege of going to a DIY event at one of my favorite stores, West Elm. I learned the technique to making a sparkly winter garland inspired by DesignLoveFest. This technique was so simple and fun and the result was a touch of holiday you could easily add to your home.
I want to share it with you! Stella was there too, and made her own, so this could be a fun way to decorate with your kids or just add a touch of sparkle to your next gathering!

Supplies Needed:
- Paper (Any coordinating paper works; we used some pretty glitter paper!)
- Baker’s twine
- Scissors
- Circular whole punch (I chose a 1/2″ as well as 1″ for some variation in size.)
- Good ol’ fashion glue stick

The How To:
- Grab your paper and start punching holes! The number of circles you will need depends on how spread apart you would like your garland dots. The flat dots use 2 circles and the spherical ones use 4.
- Cut your twine into 5-ft. sections. (To make it easier to work with, you can always decorate with multiple strands of garland!)
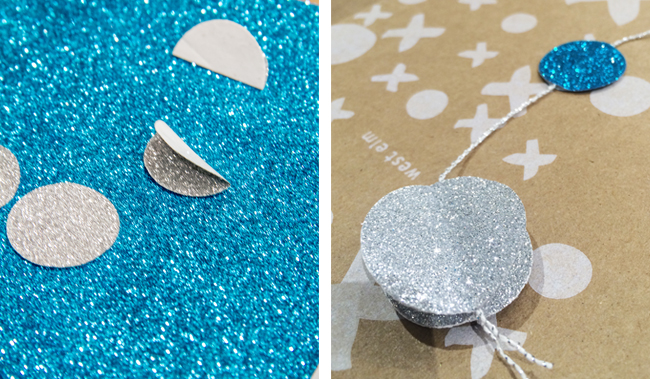
- Now start gluing on your dots! There are two basic shapes in this holiday garland:
- The flat dots—you accomplish this by simply gluing two circles of the same pattern paper back to back with the twine sandwiched in between.
- The spherical dots have a couple more steps, but once you get the hang of them they are super easy, too! Take 4 circles and fold them with right sides together down the middle (you will see the back of the coordinating paper on each folded circle). Now glue the backing of the paper and stack 3 of the 4 folded circles together (straight edges aligned and the round edges aligned). Before you add the 4th circle, place the twine along the flat edge of your stacked dots. Now align the 4th dot’s straight edge with the others and fan out the dots so all of the backs are glued together and the pretty sides show! You are creating a 3-dimensional sphere with the twine already glued through the middle of the sphere.
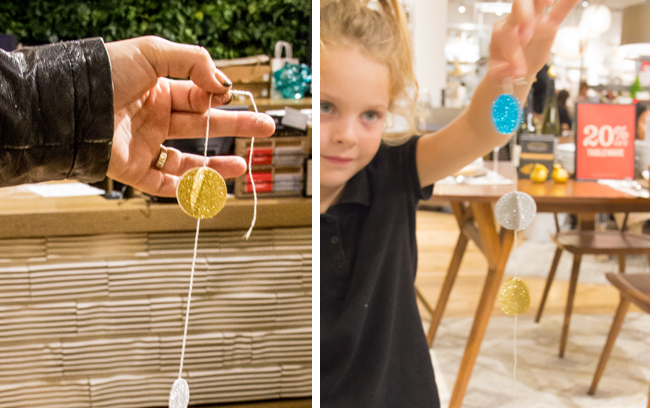
- Keep adding your dots till you get to the end of your garland in varying sizes and patterns.
- Admire your work and hang!


0 comments
Leave a comment