diy clay hair barrettes
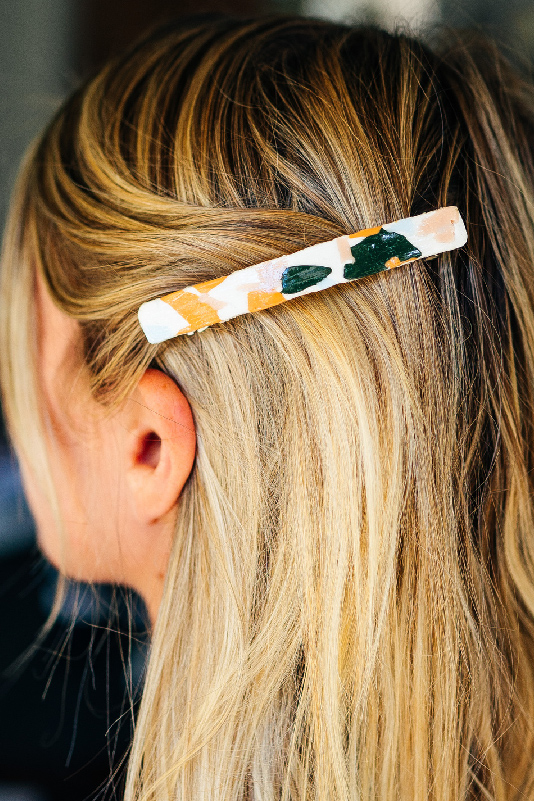
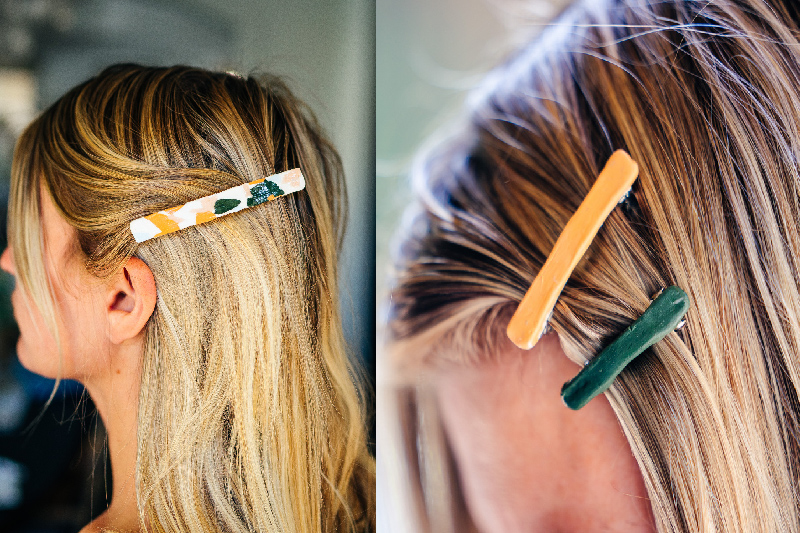
Hair barrettes are all the trend right now. If you want to create some that express your own unique style, this is the DIY for you!
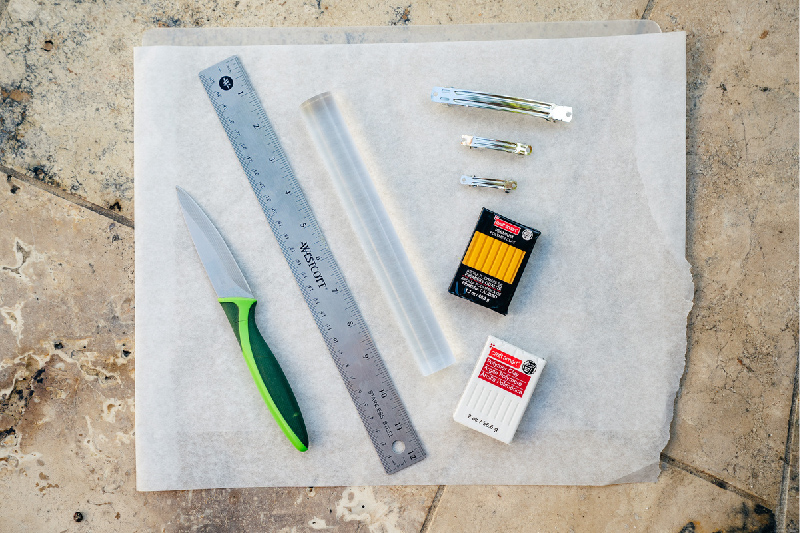
Materials and Tools
Polymer (baking) clay – Your choice of multicolor or solid clay colors
Hair Clips (we used curved clips, but flat clips are easier to work with)
Jewelry Glue
Acrylic paint (optional)
Clear glaze spray (optional)
Parchment paper
Knife
Ruler
Rolling pin
Instructions
Solid hair barrette:
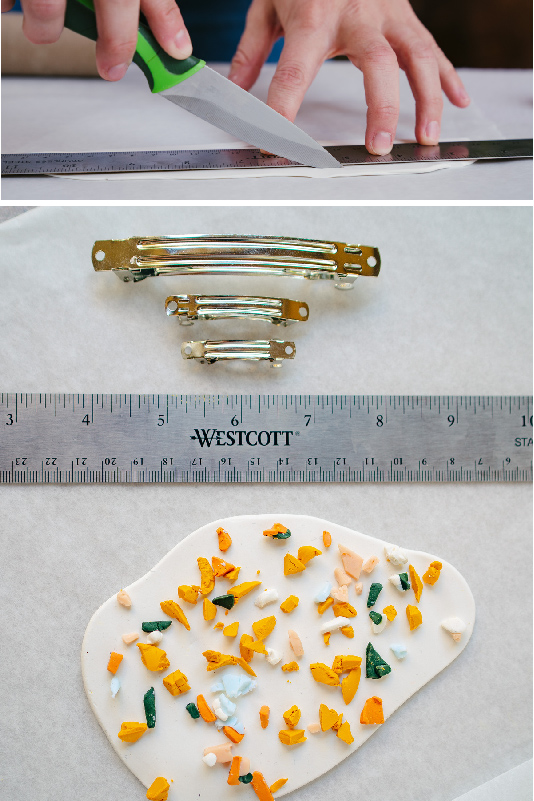
- Roll out clay to the desired width and longer than the length of the clip you will use.
- Using a knife, cut a rectangle the desired size of your finished clip. Use a ruler to cut straight lines.
- Bake according to instructions on the clay package. Cool completely.
- Glue the finished clay piece to the barrette clip. Allow it to dry completely before use.
Speckled hair barrette:
- Roll out solid colored clay to desired width and longer than the length of the clip you will use.
- Choose 3-4 other colors; roll into small sections and dice them into small pieces.
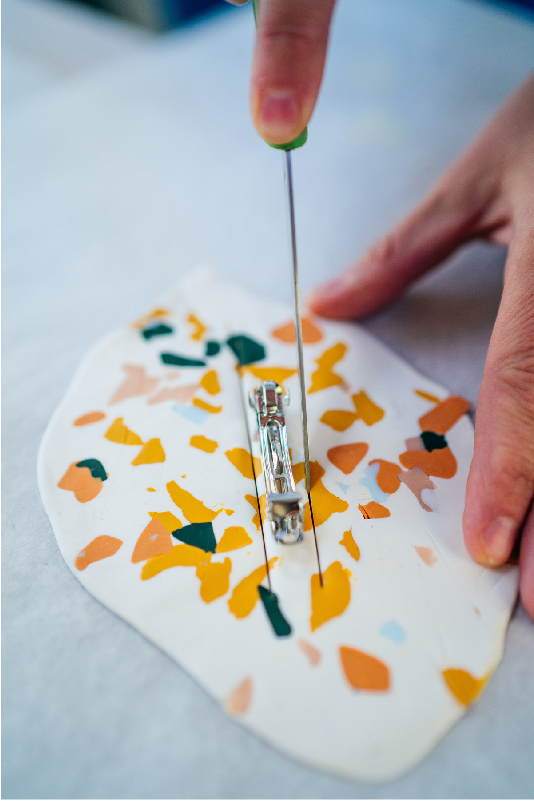
- Scatter small diced pieces on the solid clay. Lay a piece of parchment paper on the clay and use a roller to press them into the solid color. This creates the speckled look.
- Using a knife, cut a rectangle the desired size of your finished clip. Use a ruler to cut straight lines.
- Bake according to instructions on the clay package. Cool completely.
- Glue the finished clay piece to the barrette clip.
Tips: We used a clear glaze to add shine. Another option you might try is freehand painting (with acrylic paint) instead of diced clay.


1 comments
Kim | August 24, 2021
So cute! How do you get the clay to curve to the barrette when it’s done cooling? I have issues with my clay cracking when I try and glue it on, I’m wondering if you have any tips for that?
Leave a comment
Leave a comment