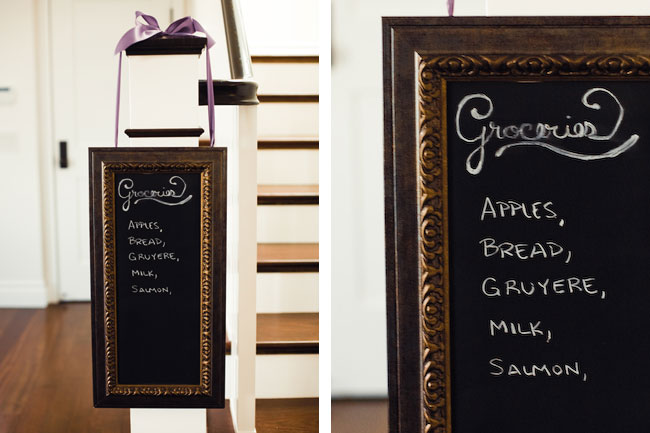
Chalkboard Frame

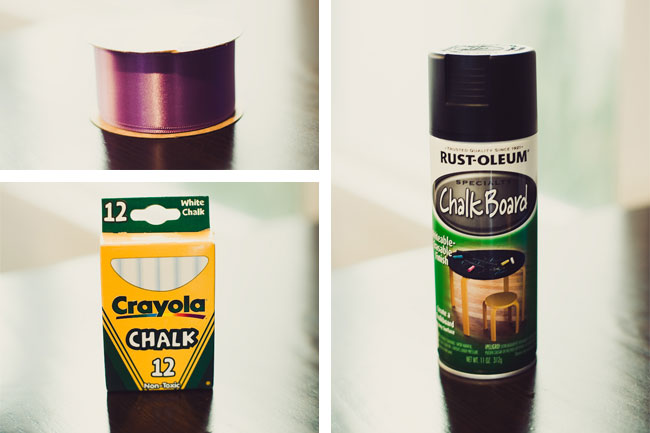
What you’ll need:
- 1 picture frame complete with glass
- 1 can of Rust-Oleum chalkboard spray paint
- 2″ wide painter’s tape
- 1 package of chalk

What to do:
- If you don’t like the frame color, you can always paint the frame first and let it dry for 24 hours before beginning the rest of this process.
- Use the painter’s tape to cover the frame, but keep the glass exposed. You can prime the glass by giving it a light sanding or simply go on to the next step.
- Shake the spray paint can for 1 minute.
- Hold the spray can about 10–12 inches away.
- Begin spraying in the fluid motion back and forth, moving your way down the frame.
- Let dry for a few minutes.
- Spray another coat.
- Let dry for up to 24 hours.
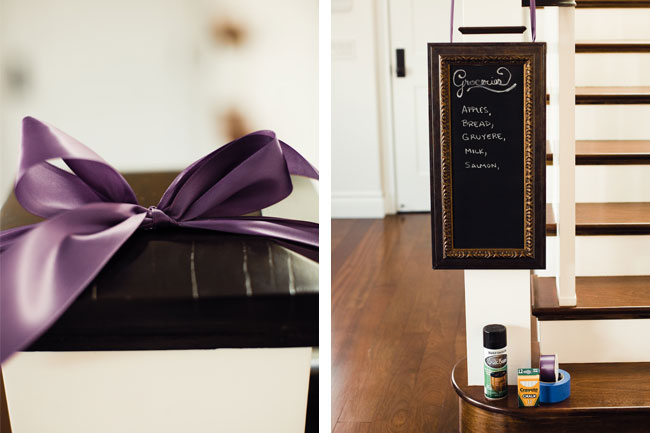
- You’re finished! You can write and erase your new chalkboard completely after 24 hours of drying.
Now, you have a surface on which to write to-do lists, grocery lists, or a menu for your dinner guests.


6 comments
Jonna | June 22, 2010
Love this DIY! Such an awesome way to re-purpose an old frame (especially one that has an odd shape, and difficult to find photos that fit in it). Thanks for sharing!
Cece | September 1, 2013
I love this idea! I will:-) use as a daily devotional board to tell what God is saying to them regularly. To share with the family.
Leave a comment
Leave a comment
Jessica S. | June 22, 2010
Oh my gosh!! Natalee!! I love everything you post DIY wise, but you are on the Virtue site! Congrats sweetie! <3
Leave a comment
Tiffany Jonker | June 24, 2010
I tried this project out and it is so fun and practical! Thank you for sharing Natalee. <3
Leave a comment
Mary Valera | July 6, 2010
Very creative idea! I love it. This will be my next project with my little girl. Thank you
Natalee Lopez | July 26, 2010
Mary - I'm not sure if you watched the Virtue video post that Brittany did about "Decorating on a Budget", but a great suggestion she made was to take a table and spray paint it with the chalkboard paint! Such a great creative space for little imaginations to go wild.
Cece | September 1, 2013
Wow I have a bistro set on the back porch that I will use to for this project. I will spray paint the table and each chair a bright yellow. Make smiley face pillow covers. This will be a place of retreat when the little ones need a smile:-) or big ones like me:-)
Leave a comment
Leave a comment
Leave a comment
Sandi Baker | July 13, 2010
I am so excited. I made a big one for myself and went to the thrift store for some old pictures. These make great gifts. Now my daughter is getting the crafty bug. I love it. Thanks.
Leave a comment
Jo | July 22, 2010
Keep up the good work. I love all your crafty ideas and they are so much fun!!
Leave a comment
Leave a comment