Calendar Display
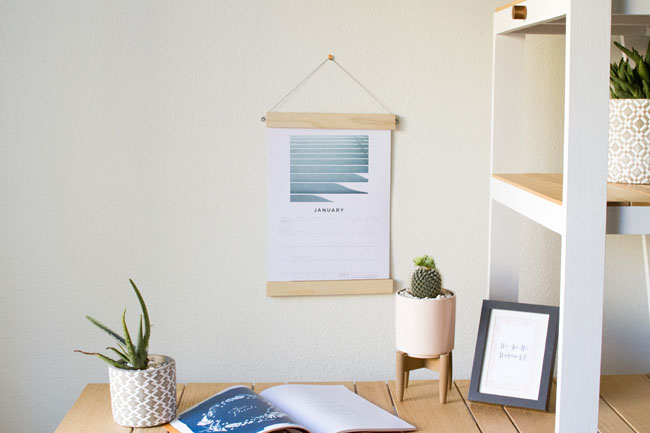
Each year when I design the Harvest calendar, I do a traditional folding square layout. This year, I wanted to do something a little more creative and make it flat, so it could be displayed in different ways. I love this idea of putting it on poster rails! This project works well for posters, wall art, and anything that’s just one sheet of paper. But I sized this especially to fit the 2018 Harvest Calendar. If you don’t already have one, you can find it here: http://www.harvest.org/store/virtue/2018-wall-calendar
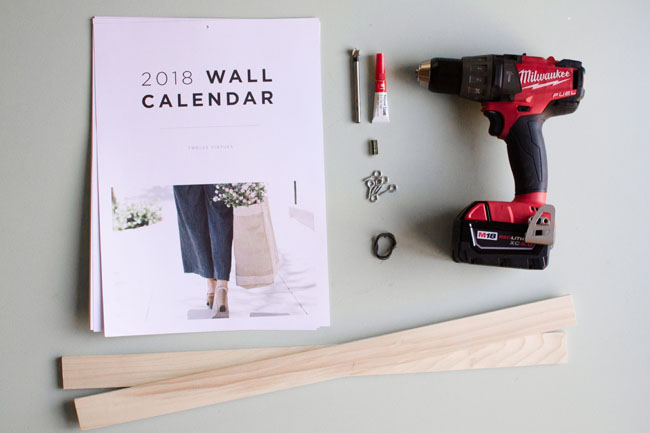
Supplies
2018 Harvest calendar or other display piece
*2 poplar hobby boards (I used 0.25″ x 1.5″ x 48″)
Eye hooks (I used #212 but #216 would be good too)
Magnets (3.8″ x 1/16″)
Super Glue
Pencil
Ruler
String
Tools
Table Saw (if you don’t own one, Home Depot will trim the wood for you)
Drill
Forstner bit (3/8″ diameter)
Thin drill bit (no larger than the thickness of the screw on your eye hooks)
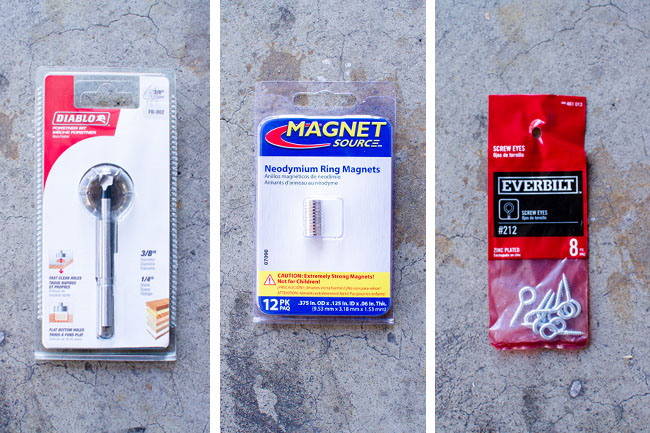
You can buy everything but the calendar at Home Depot if you don’t already have it at home. The exact products I bought are photographed above.
* Oak or hobby board of the same size is fine too, but I liked the poplar coloring best.
Instructions
Optional: Stain the wood before starting to give this project your own personal touch!
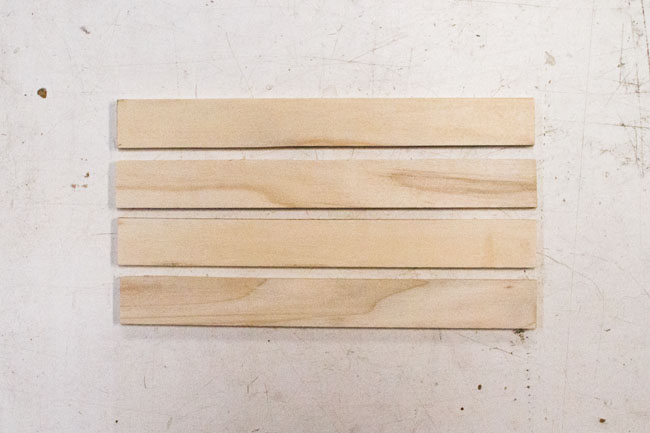
- Trim wood to size using the table saw. I sliced 0.25″ off the width, but if you prefer a thicker wood, you can skip this step. You will need four pieces (two for the top and two for the bottom). Each piece should be 11″ x 1.25″. Lightly sand the rough edges if needed.
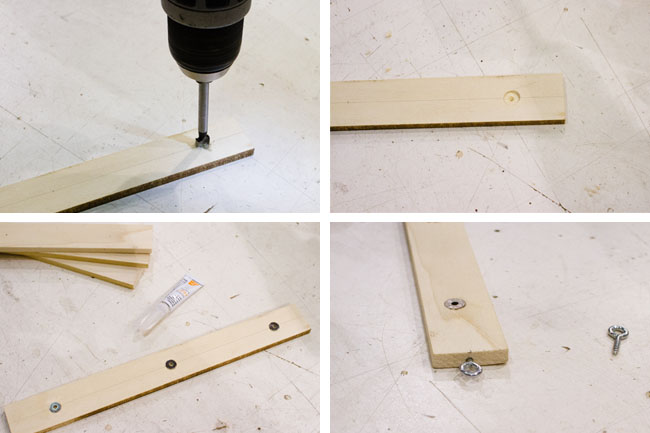
- Use a pencil to mark where each magnet will go. To make sure they are centered, draw a straight line down the middle of the wood and place the magnets along that line. I used three magnets per board.
- Using the Forstner bit, drill where you made your marks. Don’t go all the way through—just deep enough for your magnet to be flush with the hole (about 1/16″).
- Here’s where I made mistakes, so this is important! Be sure the magnets are facing the correct way so they won’t repel each other when you set them in the wood. A foolproof way to do this: Stick two magnets together and mark the outside with a Sharpie. Put a drop of glue in the hole and immediately set the magnet (Sharpie side down) into the hole.
- Next, make your hanger: Using a thin drill bit, drill a small starter hole at each end of one piece of wood (as shown in the photo). Screw the eye hooks into each hole, using pliers to tighten them when it starts getting hard to turn. Be careful not to tighten too much or the wood will crack.
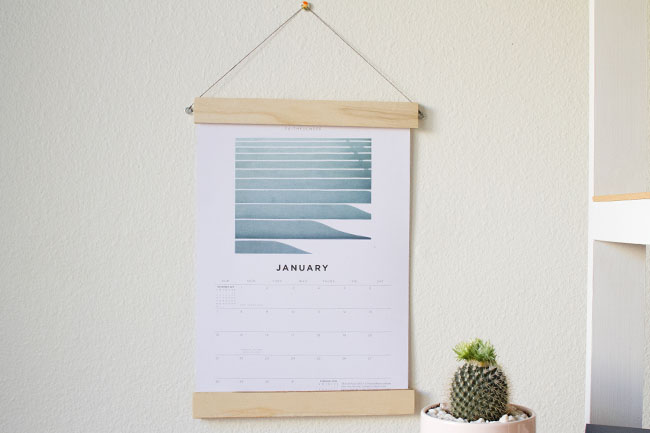
- Once your glued magnets are dry, sandwich the calendar, top and bottom, between the wood and voilà! The magnets will hold your calendar in place. Tie a string through the eye hooks and your beautiful calendar is ready to display!
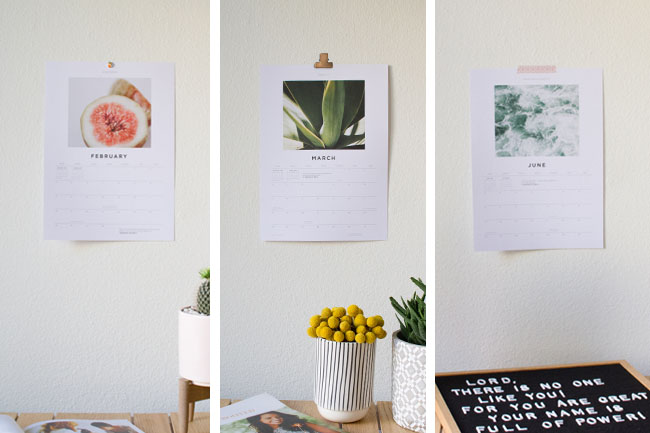
Too much work? For a quick and simple way to display your calendar, check out these easy ideas. Cute thumbtacks, binder clips, and washi tape are your best friends.


0 comments
Leave a comment